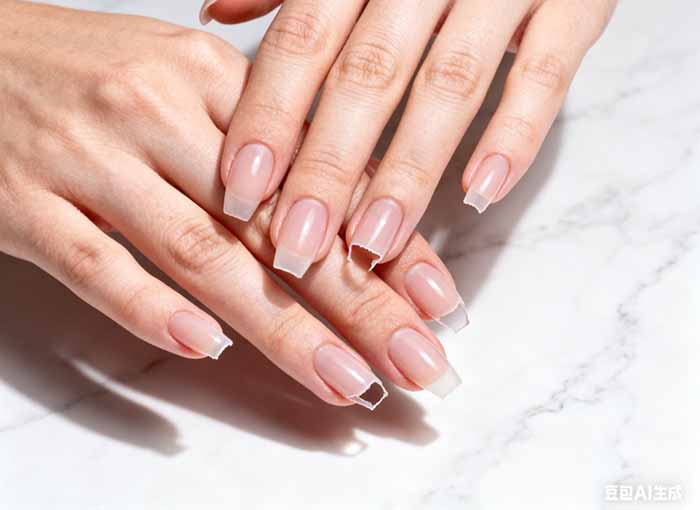
You’ve just finished a fresh gel manicure. It looks flawless. Then, a few days later, you notice a small gap near the cuticle or a corner that’s starting to peel. That’s lifting — and it’s one of the most frustrating problems in nail care.
The good news: lifting is almost always preventable, and minor lifting can be repaired without starting over. Here’s what you need to know.
What Is Gel Nail Lifting?
Lifting refers to the separation or detachment of the gel product from the natural nail plate. It can appear as subtle gaps at the cuticle, pockets on the sides, or large areas of peeling. Once lifting starts, moisture and debris can enter the gap, which may lead to further detachment and even bacterial growth.
Lifting is not the same as chipping. Chipping affects the free edge of the nail, while lifting happens where the gel bonds to the nail plate — and that’s exactly why it’s so damaging to address incorrectly.
Why Do Gel Nails Lift? The Main Causes
Lifting almost always traces back to one of these four issues.
1. Improper Nail Preparation (The Most Common Cause)
If the nail plate isn’t clean, dry, and properly textured, gel has nothing to grip. Common prep mistakes include:
- Leaving dead cuticle tissue on the nail plate — even a small amount prevents bonding
- Skipping or rushing dehydration — oils, dust, and hand cream residue act as a barrier
- Over‑buffing — too much buffing actually makes nails thinner and more flexible, which can paradoxically increase lifting
- Not using a primer — especially for clients with naturally oily nail beds
2. Product Application Errors
How you apply the gel matters just as much as how you prep:
- Gel touching the skin at the cuticle or sidewalls — this creates a pocket and lifting will follow as the hand moves
- Applying gel too thickly — thick layers prevent UV/LED light from penetrating fully, leaving the lower layers uncured
- Skipping the free edge — not sealing the tip allows water to seep underneath, weakening the bond from day one
- Using the wrong base coat — different nail lengths and conditions need different formulas
3. Curing Problems
A lamp that’s incompatible, under‑powered, or aging is a silent cause of lifting. Common signs of under‑curing include:
- Bubbling or peeling of the gel
- A soft or rubbery feel after curing (press with an orangewood stick — if it leaves a dent, it’s under‑cured)
- Gummy, sticky residue that won’t wipe clean
Even if the top layer feels hard, deeper layers may still be uncured. UV bulbs typically need replacement every 2–4 months with regular use; LED lamps lose effectiveness after roughly two years.
4. Aftercare and Lifestyle Factors
Once the manicure is done, how you treat your nails matters too:
- Using nails as tools — opening cans, peeling stickers, scraping labels
- Picking or peeling at the gel — this doesn’t just ruin the manicure; it strips layers off your natural nail
- Prolonged water exposure — dishwashing, cleaning, or long baths without gloves causes the nail plate to swell and shrink repeatedly, breaking the bond
- Skipping cuticle oil — dry nail plates become brittle, making lifting and breakage more likely
How to Fix Lifting Gel Nails (Without Starting Over)
If the lifting is minor (only a small edge or corner), a quick repair can add days or even weeks of wear.
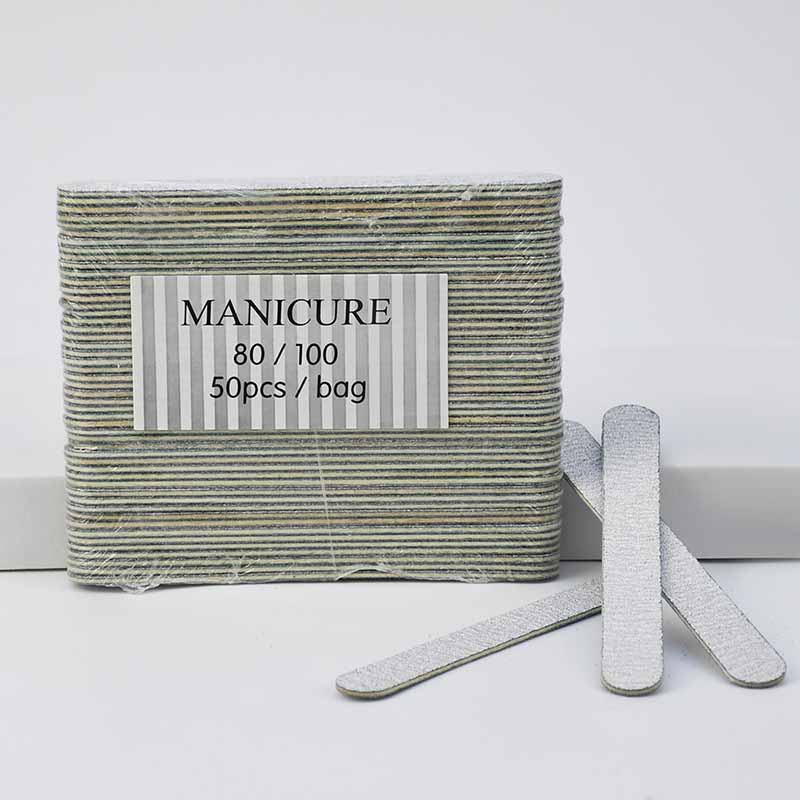
What you’ll need: a nail file (180‑grit), buffer, rubbing alcohol, gel base coat, matching colour, top coat, UV/LED lamp.
Step 1: Gently file away only the lifted edge — remove just the loose product. Do not file down to your natural nail.
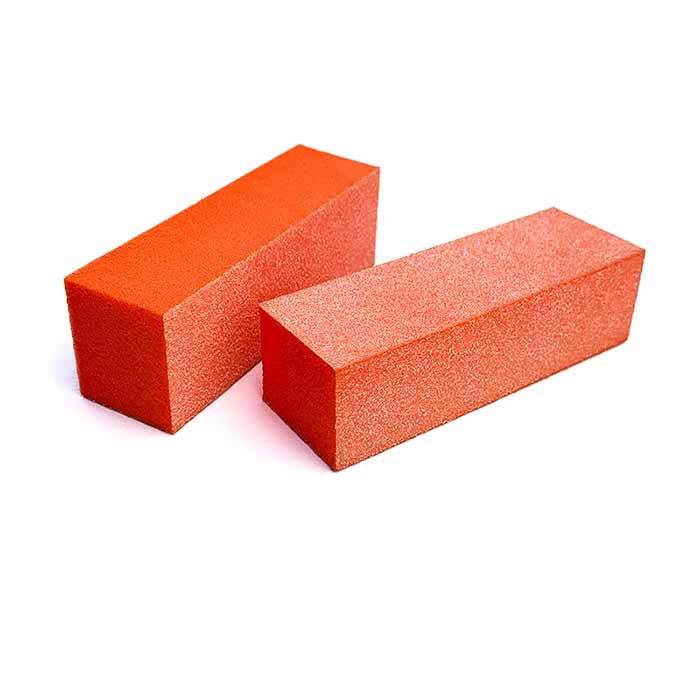
Step 2: Buff the surrounding area to create a smooth, even surface. Then wipe with rubbing alcohol to clean all dust and oils.
Step 3: Apply a thin layer of gel base coat over the repaired section and the entire nail. Cap the free edge to seal it.
Step 4: Cure according to your lamp’s instructions. Apply a matching colour (thin layer) if needed, cure again, then finish with top coat and a final cure.
Pro tip: If the gel has only lifted at the free edge, you can often simply file the tip smooth and reseal with top coat — no full repair needed.
If multiple nails are lifting extensively, the safest option is to remove the gel completely and start fresh. Never, ever just paint over a lifted section without prep.
How to Make Gel Nails Last 2–3 Weeks (Prevention Guide)
A properly applied gel manicure should comfortably last 2–3 weeks. Here’s how.
Application Checklist for Long Wear
1. Push back cuticles and remove every trace of dead tissue from the nail plate.
2. Lightly buff the surface with a fine‑grit file or buffing block — just enough to remove shine, not to thin the nail.
3. Cleanse each nail thoroughly with a professional dehydrator or 75%+ isopropyl alcohol. Remove all dust and oil.
4. Apply primer (if needed) — crucial for oily nail beds.
5. Use thin, multiple layers of gel. Two thin colour coats are much better than one thick one.
6. Cap the free edge with every layer — base, colour, and top coat.
7. Keep gel off the skin — maintain a tiny hairline gap around cuticles and sidewalls.
8. Cure fully using a lamp compatible with your gel brand and replace bulbs regularly.
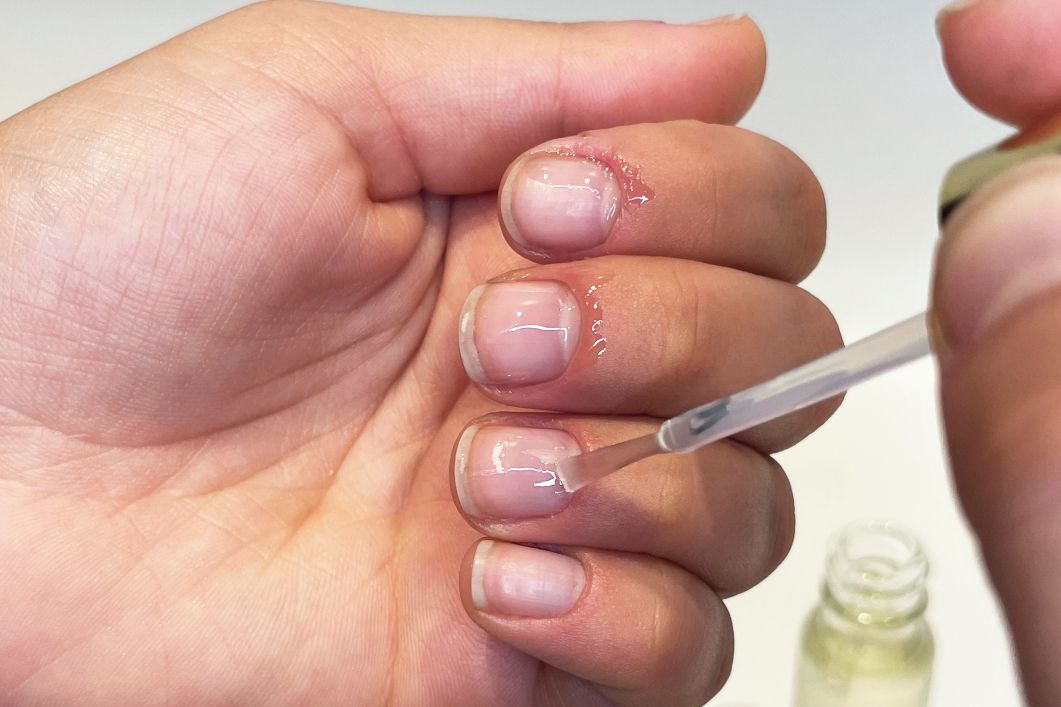
9. Finish with cuticle oil — this hydrates the nail plate and surrounding skin, reducing brittleness.
Daily Habits That Extend Wear
- Apply cuticle oil morning and night — hydrated nails are more flexible and resist lifting.
- Wear gloves for dishwashing, cleaning, and gardening.
- Never use your nails as tools — treat them like jewellery.
- Don’t pick or peel at any lifted edge. File it smooth or have it repaired.
- Give your nails a break between gel applications — a few days of bare, oiled nails allows them to rehydrate fully.
The Bottom Line
Gel nails lift for a reason — usually prep, application, curing, or aftercare. Fix small issues early, but never pick or peel. With proper technique and daily care, your gel manicure can easily last 2–3 weeks, staying as flawless as day one.
Have you dealt with lifting gel nails? What worked for you? Share your experience in the comments — I’d love to hear your tips.
Read also: The Unsung Hero of Nail Care: Your Guide to Cuticle Oil
One thought on “Gel Nails Lifting: Why It Happens, How to Fix It, and How to Make It Last”