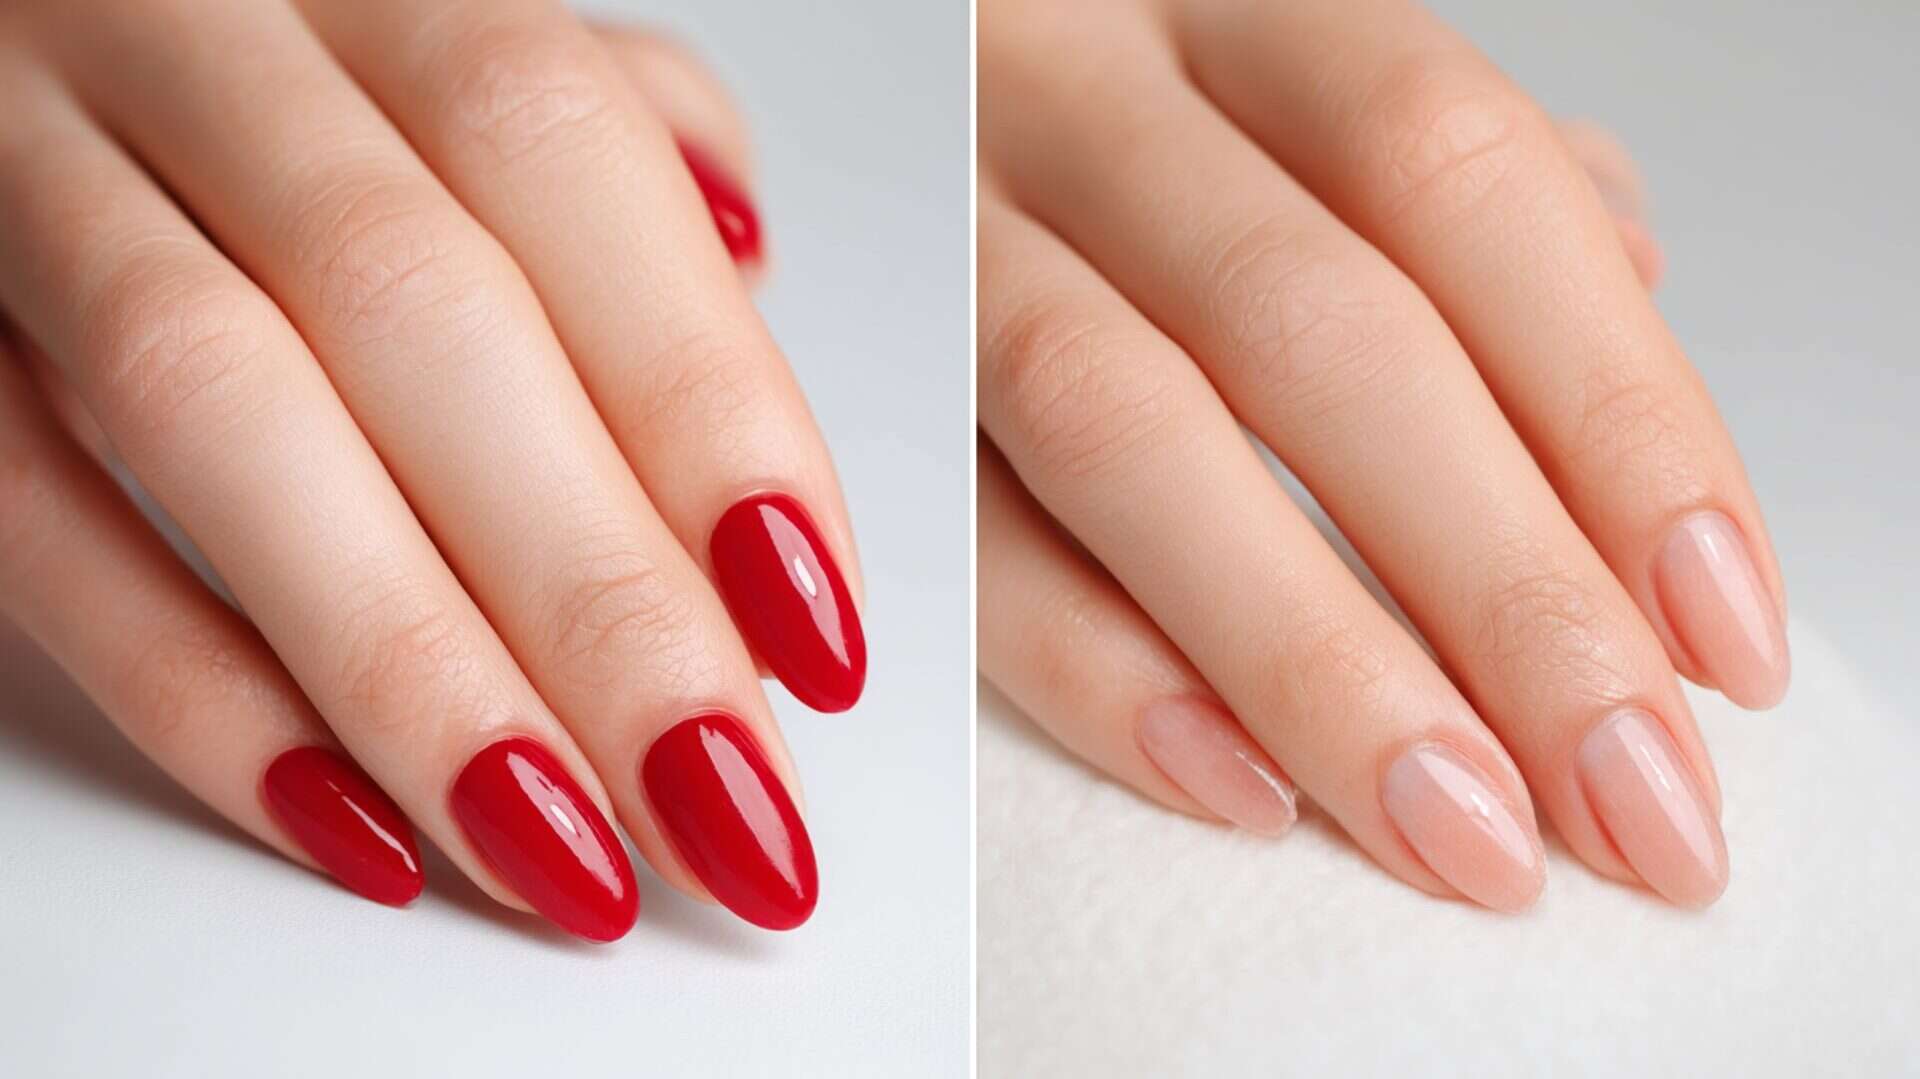
Naked nails—also called nude nails or the “no‑mani” manicure—are the ultimate expression of quiet luxury. Unlike bold colors or intricate nail art, a naked manicure isn’t about hiding your nails; it’s about enhancing them. The goal is a clean, healthy, naturally polished look that complements every outfit, every occasion, and every skin tone. Think sheer pinks, milky nudes, and barely‑there glazes that let your natural nail bed shine through.
But achieving that effortless, fresh‑out‑of‑a‑spa look requires more than just slapping on a sheer polish. From finding the right nude shade to perfecting application and preventing yellowing, here’s your complete guide to naked nails.
What Are Naked Nails?
Naked nails sit at the intersection of minimalism and nail health. They can mean:
- Truly bare nails that are shaped, buffed, and hydrated to a natural gloss (no polish at all).
- Sheer polish that adds a subtle, translucent tint of pink, peach, or beige.
- Milky or jelly finishes that give a soft, blurred opacity while still letting the nail show through.
The unifying principle is restraint. There’s no opaque color, no stark white tip, no glitter. Just your nails – better.
How to Find the Perfect Naked Shade for Your Skin Tone
The wrong nude can look chalky, gray, or strangely opaque. The right nude disappears on your finger, enhancing rather than announcing itself. Here’s how to match.
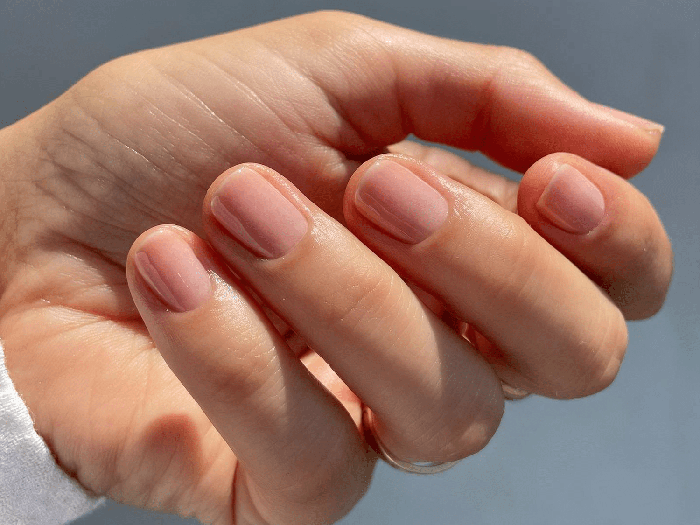
For fair skin with cool undertones (pinkish): Look for sheer pinks with a hint of blue or lavender. Avoid beige or yellow‑based nudes, which can look muddy.
For fair to light skin with neutral undertones: Sheer peach or milky white tones work beautifully. A “your nails but brighter” effect often comes from a very light rosy beige.
For medium or olive skin: Warm, peachy nudes or soft caramel sheers complement golden undertones. Stay away from pasty whites.
For dark or deep skin: Rich, creamy beiges, warm caramels, or sheer brown‑based pinks create a stunning natural look. Don’t be afraid of opacity – a slightly more pigmented nude can still read as “naked” on deeper skin tones.
The test: Paint a single stripe on your bare nail and look at it in natural light. If the polish seems to blend into your skin or simply makes your nail look healthy and even, you’ve found your shade. If it stands out as a distinct “color,” keep looking.
The Essential Steps for a Perfect Naked Manicure
Because naked nails are so minimal, every flaw shows. Preparation is everything.
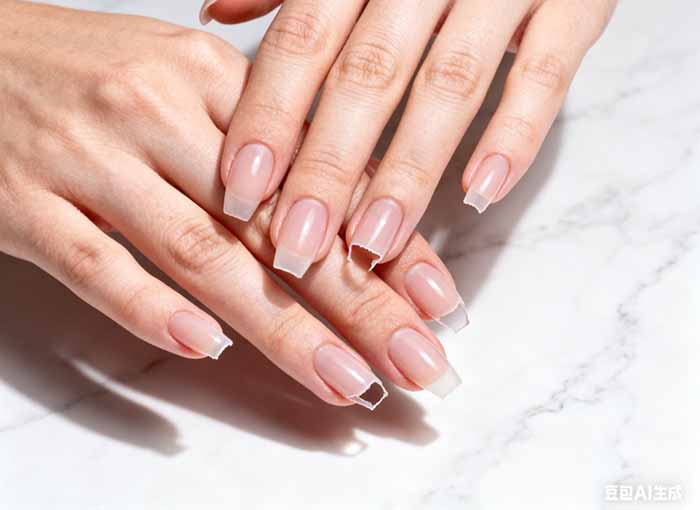
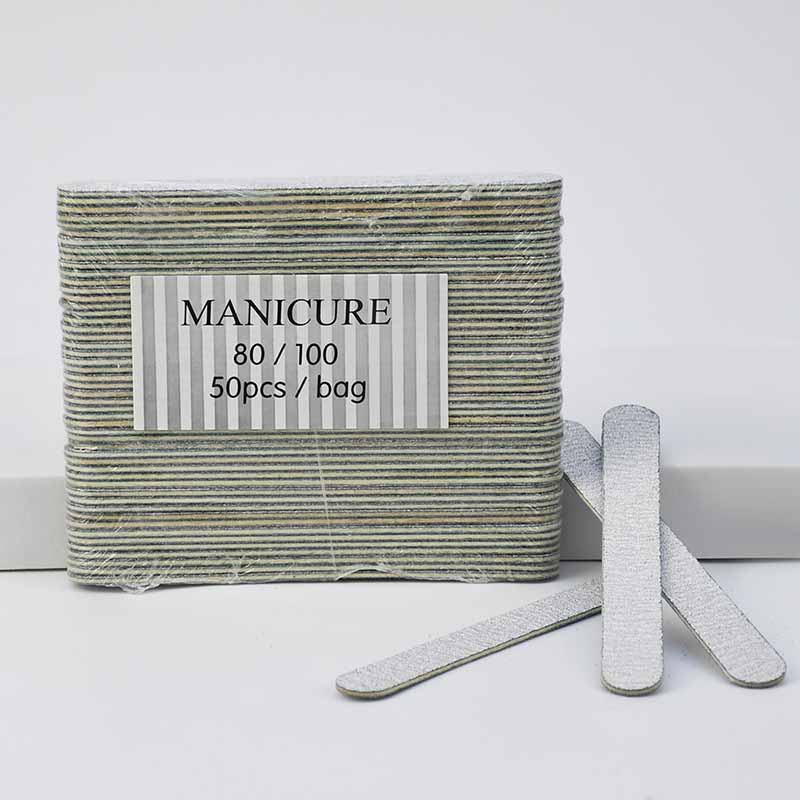
Step 1 – Shape and clean. Use a fine‑grit nail file to shape your nails. Square, squoval, or soft oval are the most flattering for natural nails. File in one direction only to avoid peeling. Push back cuticles gently – never cut them.
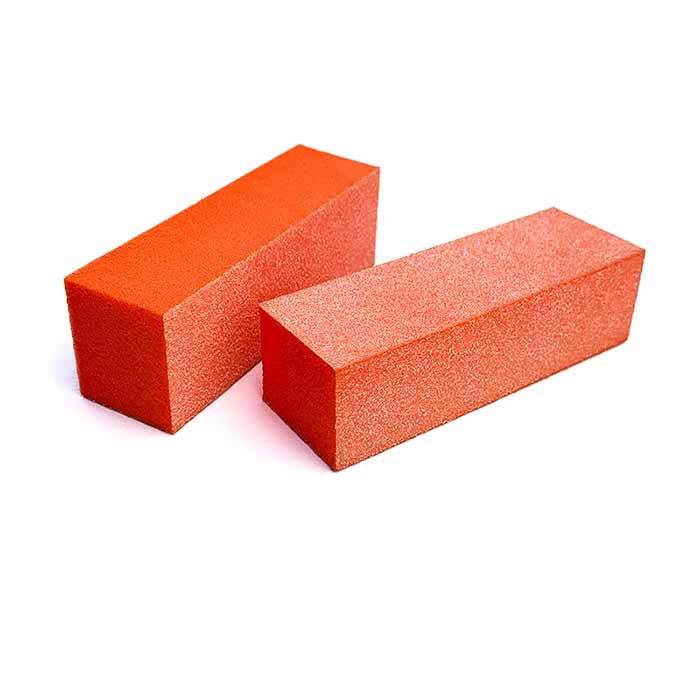
Step 2 – Lightly buff. Use a nail buffer to remove the natural shine and smooth any ridges. Two or three light passes are enough. Over‑buffing thins the nail and makes it weak.
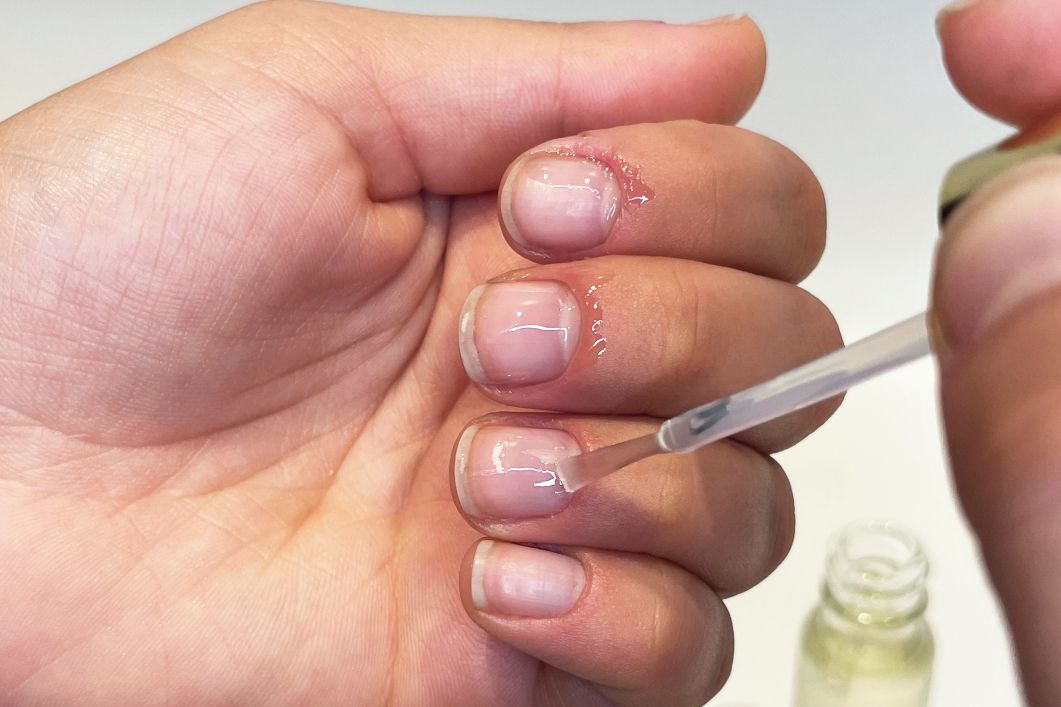
Step 3 – Dehydrate. Wipe each nail with rubbing alcohol or a nail cleanser on a lint‑free wipe. This removes oils, dust, and residue. After this step, do not touch your nails – finger oils transfer instantly.
Step 4 – Base coat. Even for sheer polish, a base coat is non‑negotiable. It prevents staining (more on that later) and helps the color adhere evenly. Apply one thin layer, cap the free edge, and let it dry completely.
Step 5 – Apply the sheer shade. Naked nails are built in thin layers. Apply one thin coat, let it dry, then assess. For a barely‑there wash, one coat may be enough. For a more polished look, two thin coats are ideal. Avoid three coats – the polish can start to look opaque and heavy.
Step 6 – Top coat. A high‑gloss top coat adds a glassy finish and seals the manicure. Cap the free edge again. For an ultra‑modern twist, try a matte top coat – it transforms the naked nail into a velvety, almost suede‑like finish.
Step 7 – Hydrate. Once everything is dry, massage cuticle oil into each nail. This step is often skipped, but it’s what separates a “done” manicure from a truly healthy, radiant one.
Minimalist Details That Elevate Naked Nails
The beauty of naked nails is in the details. Here’s how to take them from basic to editorial.
- Glass‑like shine: A high‑quality, ultra‑glossy top coat makes even bare nails look intentional. Reapply every 2‑3 days to maintain the wet‑look effect.
- Perfectly shaped edges: Any stray polish on skin or uneven edges will stand out. Use a small brush dipped in remover to clean the cuticle line meticulously.
- Hydrated cuticles: Dry, ragged cuticles ruin the naked nail aesthetic. Apply cuticle oil morning and night, and keep a small oil pen in your bag for touch‑ups.
- A single accent: For a tiny twist, leave one nail completely bare (no polish) or add a single micro‑dot of gold or white near the cuticle of the ring finger. It’s still “naked” but with personality.
- Matte finish: A matte top coat over a sheer nude creates a sophisticated, modern look that’s different from every glossy nail around you.
How to Keep Naked Nails from Yellowing
One of the biggest fears with sheer or clear polish is yellowing. Here’s how to prevent it.
Always use a base coat. This is the number one rule. Base coat creates a barrier between your nail plate and the pigments in the polish. Even clear or sheer polishes can stain over time without a base coat.
Choose quality products. Cheap, low‑grade polishes often contain dyes or impurities that turn yellow when exposed to UV light or heat. Stick to reputable brands known for their sheer formulas.
Don’t smoke around your nails. Nicotine and tar are notorious for yellowing nails and any clear coating.
Avoid intense pigments underneath. If you’ve worn dark polish recently, make sure all stains are buffed off or grown out before applying a sheer nude. Dark reds, blues, and greens are the worst offenders.
Limit UV exposure. Just like your skin, your nails can yellow from excessive sunlight or tanning beds. If you spend hours outdoors, apply a UV‑protective top coat or wear gloves.
Replace old polish. If your favorite sheer polish has turned yellow in the bottle, it’s time to toss it. Old polish oxidizes and will transfer that yellow tint to your nails.
Give your nails breathing days. Even with perfect products, wearing any polish continuously for weeks can trap moisture and lead to surface yellowing. Take a day or two every few weeks with completely bare, oiled nails.
The Bottom Line
Naked nails are not about doing nothing. They’re about doing everything – perfectly – and then making it invisible. The right shade disappears on your finger, the application is flawless, and the finish is glassy or velvety. With careful prep, consistent moisturizing, and a good base coat, your “no‑mani” manicure will look fresher and more intentional than any bold color. And honestly? There’s something quietly powerful about nails that don’t need to shout.
Do you have a go‑to nude shade that works perfectly for your skin tone? Share it in the comments – I’d love to hear your recommendations.
Read also: Gel Nails Lifting: Why It Happens, How to Fix It, and How to Make It Last