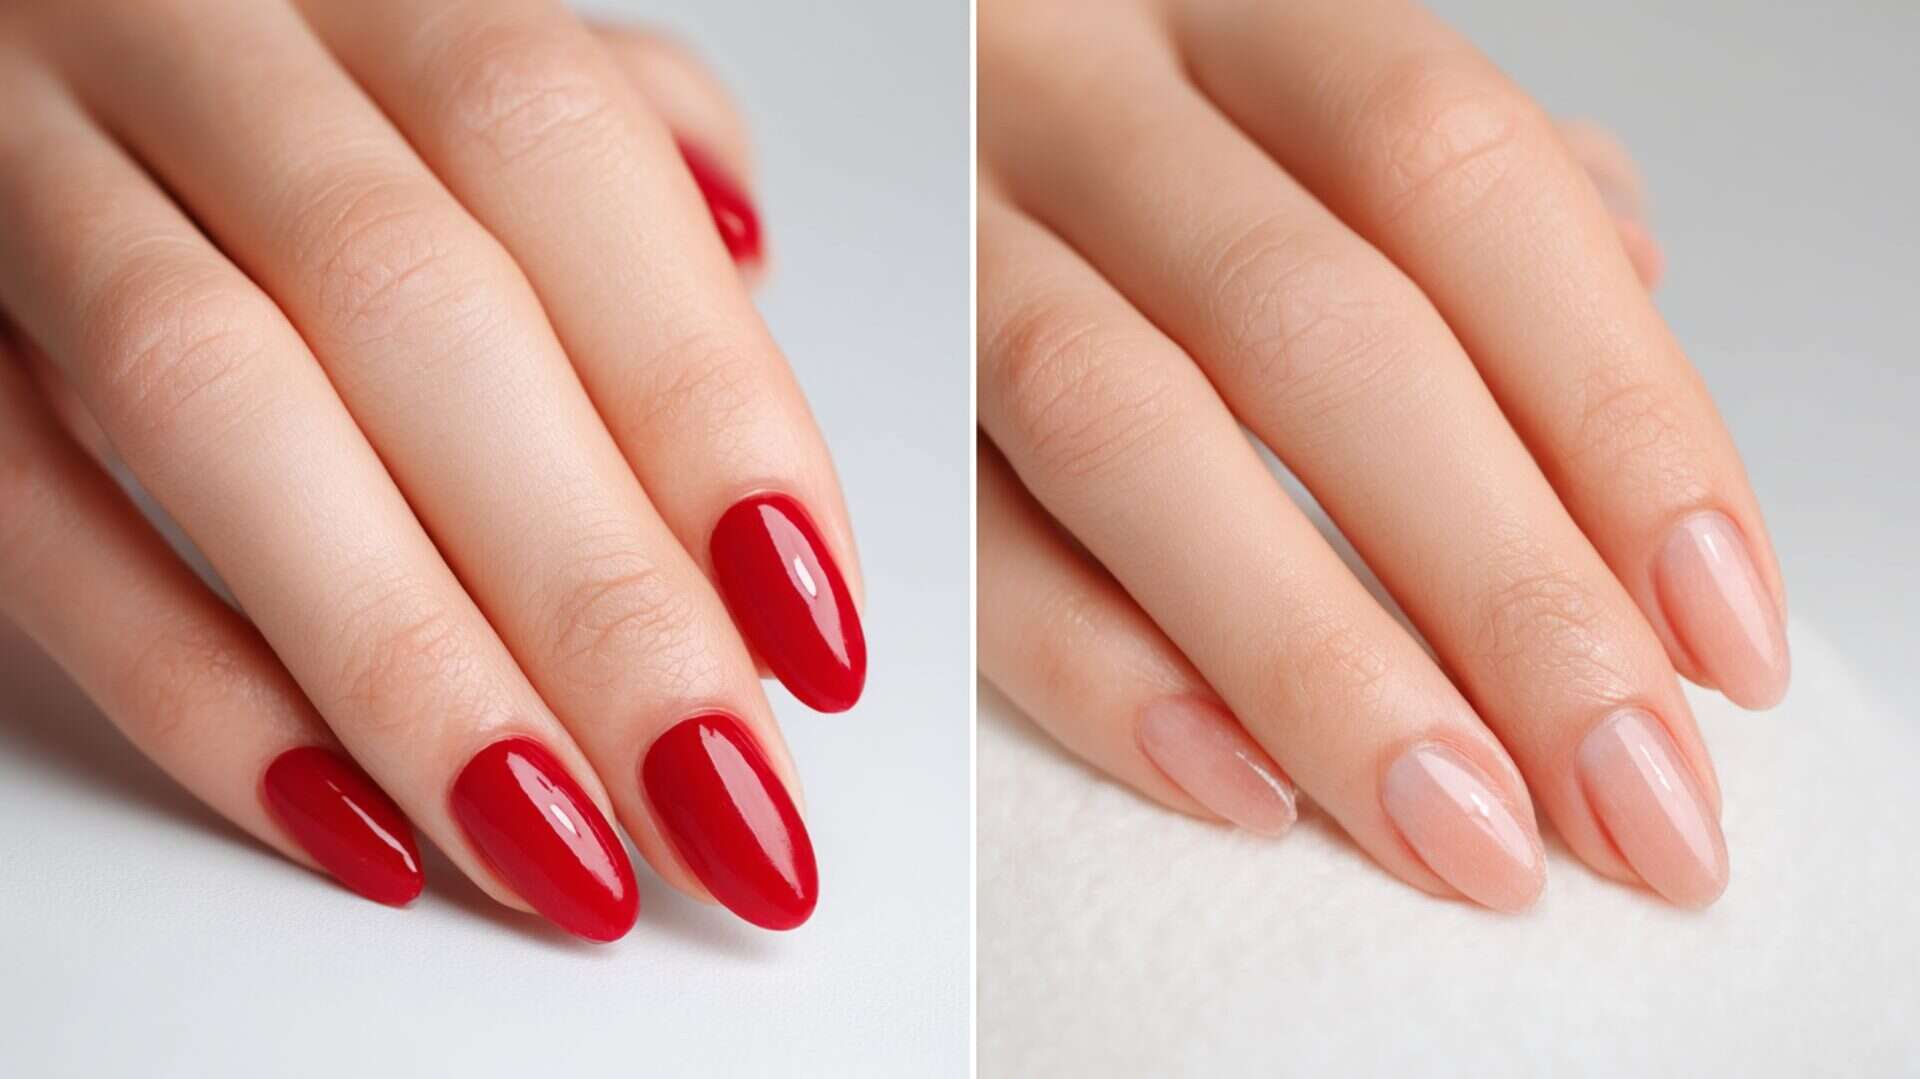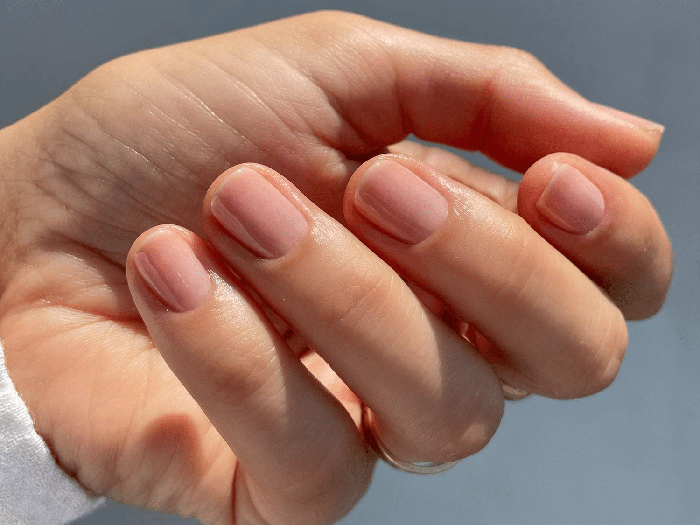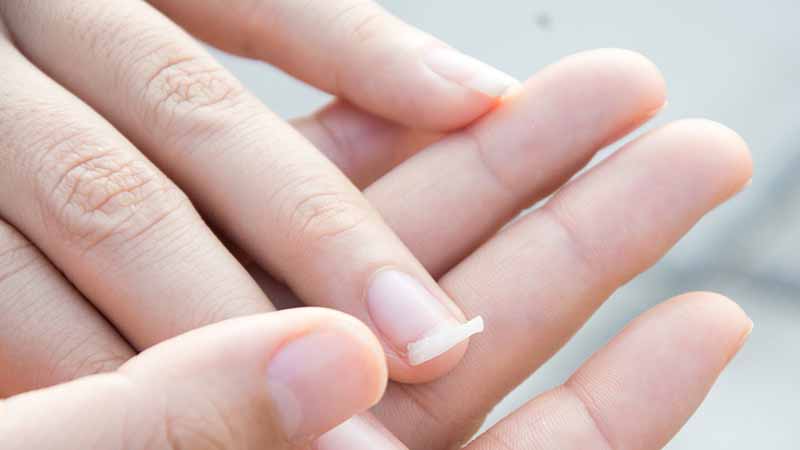
Gel nail stickers have become one of the easiest ways to get a salon-quality manicure at home. They are thin, flexible, pre-designed, and cured under a UV or LED lamp. But many people make the same mistake: they apply the sticker, cure it, and stop there. Within a day or two, the edges begin to lift, water gets underneath, and the sticker peels off.
The missing step is sealing. A proper seal is what turns a temporary sticker into a durable gel manicure. It protects the edges, adds shine, prevents lifting, and can double the wear time. Here is everything you need to know about sealing gel nail stickers, from preparation to repair.
Why Sealing Gel Nail Stickers Is Essential?
A gel nail sticker is a semi-cured layer of gel. When you cure it under a lamp, it hardens and bonds to the nail plate. But the edges remain the weakest point. The cuticle area, sidewalls, and free edge are constantly exposed to water, friction, and movement. Without a seal, water seeps under the sticker, the adhesive weakens, and the edge lifts.
Sealing with a gel top coat solves this problem. It creates a continuous, waterproof layer over the sticker and the natural nail. It seals the free edge, which is the most vulnerable part of any manicure. It adds scratch resistance, so the design does not dull or chip. It also gives the sticker a high-gloss, salon-quality finish that looks intentional and polished.
In short: sealing is not optional if you want your gel stickers to last. It is the difference between a one-day manicure and a two-week one.
The Key Steps for Applying and Sealing Gel Stickers
The process has three phases: preparation, application, and sealing. Each phase matters.
Phase 1: Perfect Nail Preparation
Preparation is the foundation. If the nail plate is not clean, dry, and slightly textured, the sticker cannot bond properly.
Start by removing any old polish. Wash your hands with soap and water and dry them thoroughly. Shape your nails with a fine-grit file. File in one direction only—never saw back and forth. This prevents micro-tears that lead to peeling.
Push back your cuticles. Soak your fingertips in warm water for a few minutes, then gently push the cuticle back with a wooden or rubber-tipped pusher. Do not cut living cuticle. Only trim loose, dead skin if necessary.
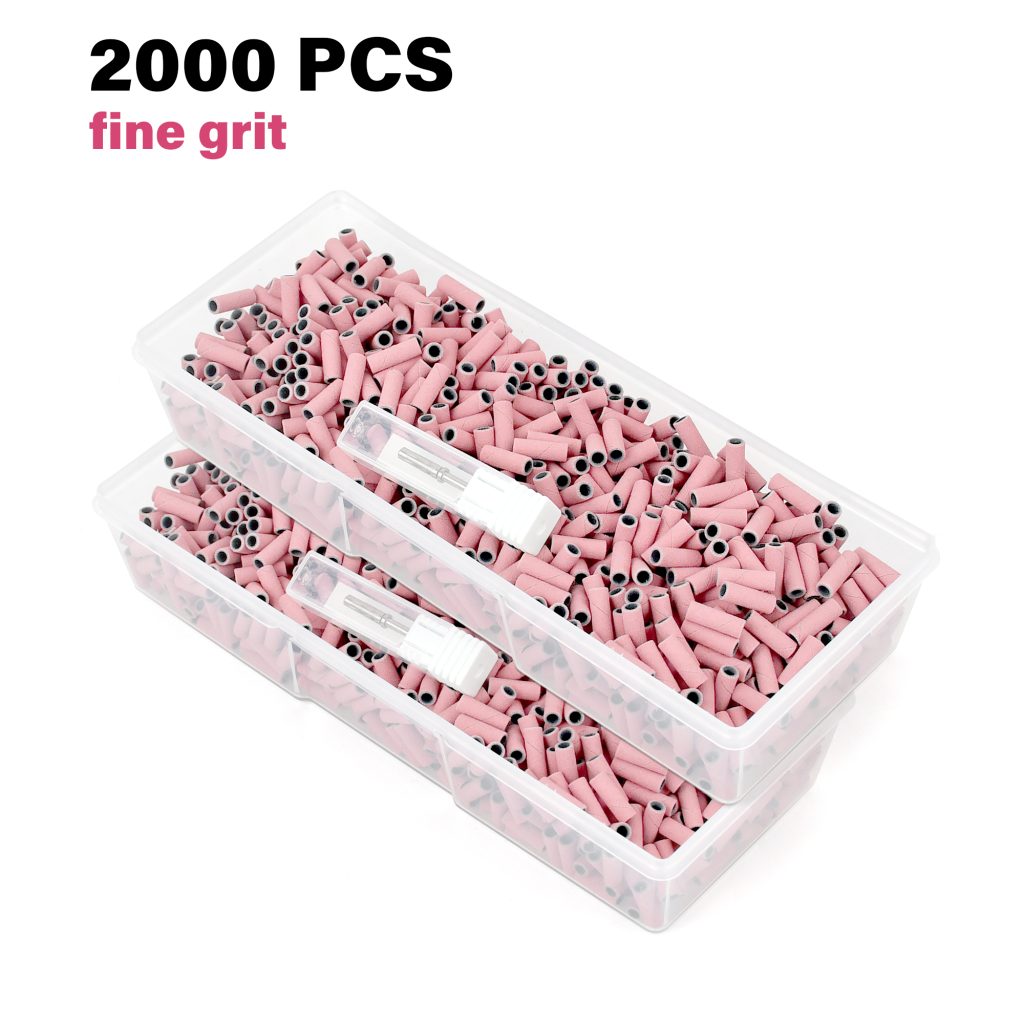
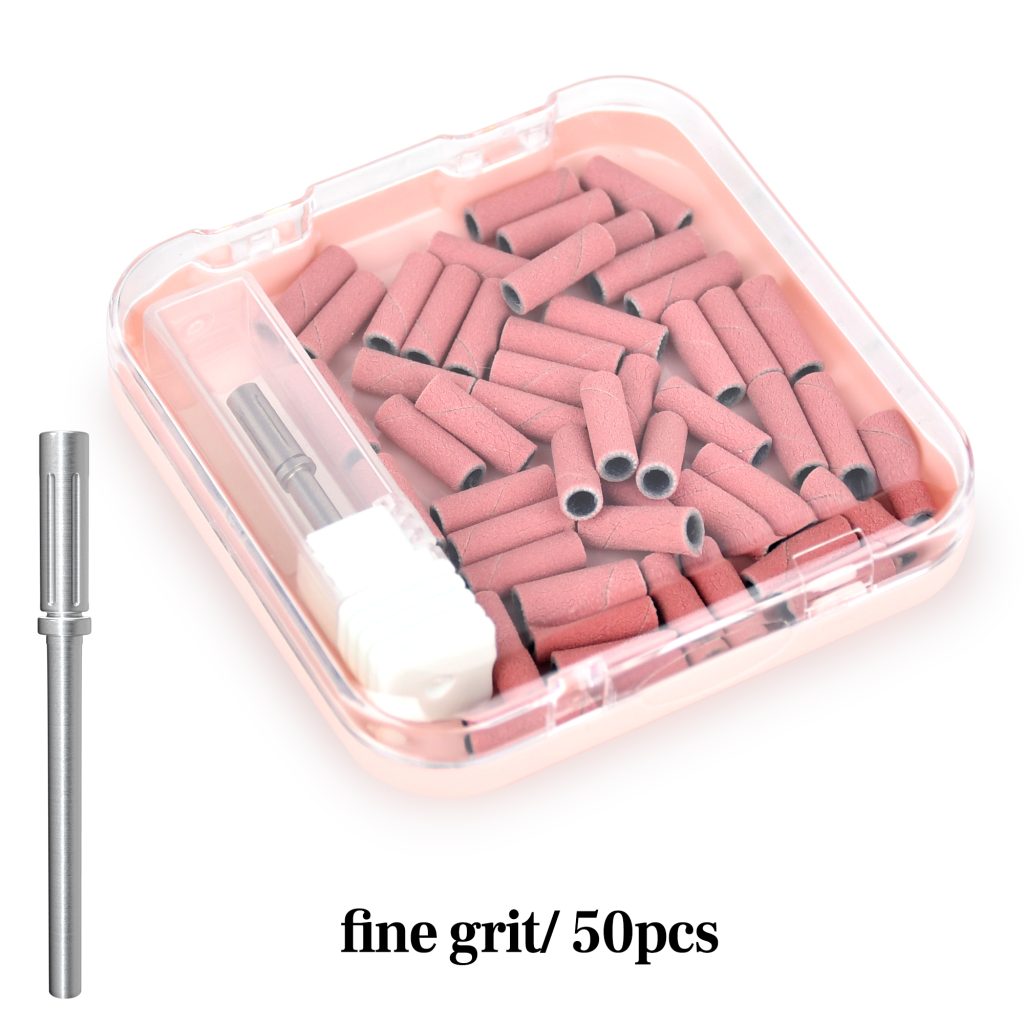
Lightly buff the nail surface. Use a fine buffer or a fine-grit mini sanding band on an electric file. If using an e-file, keep the speed low—around 5,000 to 8,000 RPM—and use light pressure. The goal is to remove shine, not to thin the nail. Two or three light passes are enough.
Remove all dust with a soft brush. Then wipe each nail with a nail dehydrator or 91% isopropyl alcohol on a lint-free wipe. Do this twice. After this step, do not touch your nails with your bare fingers. Natural oils transfer instantly and ruin adhesion.
Phase 2: Effective Application
Choose the right size. Hold each sticker over your nail without removing the backing. Pick the size that covers the nail from sidewall to sidewall without touching the skin. If you are between sizes, choose the smaller one. A sticker that overlaps the skin will lift.
Peel the sticker from the backing. Try not to touch the adhesive side. Place the rounded edge just above your cuticle, leaving a tiny gap—about one millimeter. Press down at the center first, then smooth outward toward the edges. Use a wooden stick to press the edges firmly and push out any air bubbles.
If the sticker extends past your free edge, fold it over the tip or trim it with small scissors. Then file downward in one direction to remove the excess. Do not saw back and forth.
Cure the sticker under your UV or LED lamp. Follow the manufacturer’s recommended time, usually 60 to 90 seconds. Make sure all five fingers are fully exposed to the light.
Phase 3: Sealing for Long Wear
This is the step that locks everything in. After curing the sticker, apply a thin layer of gel top coat over the entire nail. Be sure to cap the free edge—run the brush along the tip of the nail. This seals the most vulnerable point and prevents water from seeping underneath.
Cure the top coat according to the manufacturer’s instructions. If you are using a no-wipe top coat, you do not need to cleanse. If your top coat leaves an inhibition layer, wipe it away with alcohol on a lint-free wipe.
For extra durability, you can apply a second thin layer of top coat and cure again. This is especially helpful for stickers on the thumbs and index fingers, which see the most wear.
Tips to Make Gel Stickers Last Longer
Apply cuticle oil daily. Hydrated cuticles stay flexible and do not pull away from the sticker. Jojoba oil is ideal because it penetrates the nail plate and mimics the skin’s natural oils.
Wear gloves for wet work. Dishwashing, cleaning, and gardening expose your nails to water and harsh chemicals. Water is the enemy of adhesion. A simple pair of rubber gloves protects your manicure.
Avoid using your nails as tools. Opening cans, peeling stickers, and scraping labels puts lateral pressure on the nail. This can lift the edges or crack the sticker. Use a proper tool instead.
Avoid prolonged water exposure. Long baths, hot tubs, and swimming can weaken the adhesive. If you do get your nails wet, dry them thoroughly, especially around the edges.
Reapply top coat every few days. If you are using a regular top coat over the cured sticker, a fresh layer every two to three days refreshes the seal and extends wear.
Do not pick or peel. If you see a lifted edge, resist the urge to pull it. Peeling strips layers off your natural nail. Repair it instead.
What to Do When the Edges Start to Lift
Even with perfect application, a small edge may lift after a week or more. Do not panic, and do not peel.
First, clean and dry the area. Use a little alcohol on a lint-free wipe to remove any oil or moisture from the lifted edge.
If the lift is small, apply a thin layer of gel top coat over the lifted area and along the edge. Press the edge down gently with a wooden stick. Cure under the lamp. This reseals the edge and stops the lift from spreading.
If you do not have a lamp, you can use a tiny amount of nail glue or a brush-on nail adhesive. Apply it under the lifted edge, press down, and hold for a few seconds. Then seal with a clear top coat.
If the lift is large or the sticker has come off entirely, remove the sticker gently with cuticle oil. Clean the nail, prep it again, and apply a fresh sticker. Do not try to force a large lifted sticker back down—it will trap moisture and may cause infection.
The Bottom Line
Sealing is the secret to a long-lasting gel sticker manicure. It protects the edges, prevents water from seeping underneath, adds shine, and extends wear. The process is simple: prepare thoroughly, apply precisely, cure fully, and seal with a gel top coat. Cap the free edge. Care for your nails daily. If an edge lifts, repair it instead of peeling. With these habits, your gel stickers can stay glossy, secure, and lift-free for up to two weeks.
Read also: The Complete Guide to Cracked Nails: Causes, Repairs, and Prevention